


Hey there! As a mixing tank supplier, I often get asked about how to install a pH sensor in a mixing tank. It's a crucial step, especially if you're dealing with processes where pH levels can make or break the quality of your end product. In this blog, I'll walk you through the whole process, from choosing the right sensor to the final installation.
Choosing the Right pH Sensor
First things first, you need to pick the right pH sensor for your mixing tank. There are a bunch of factors to consider here. The type of liquid you're mixing is super important. If it's a corrosive liquid, you'll need a sensor that can withstand that kind of environment. For example, if you're using our Syrup Mixing Tank to mix syrups, you'll want a sensor that can handle the sugar content and any acidic or basic additives.
The temperature of the liquid also matters. Some sensors work better at certain temperatures. If you're using an Electric Heating Mixing Tank, the liquid might be quite hot, so you'll need a high-temperature-resistant sensor.
Another thing to think about is the size of the tank. Larger tanks might require a more robust sensor to ensure accurate readings throughout the entire volume of the liquid.
Preparing for Installation
Once you've got the right sensor, it's time to prep for installation. Start by cleaning the area where you'll be installing the sensor. Any dirt or debris can interfere with the sensor's performance. You don't want that!
Next, gather all the tools you'll need. This usually includes a wrench, some Teflon tape for sealing, and maybe a drill if you need to make holes in the tank. Make sure you have everything within reach so you don't have to stop in the middle of the installation.
It's also a good idea to read the sensor's manual thoroughly. Each sensor might have specific installation instructions, so you don't want to miss anything. And if you're not sure about something, don't hesitate to reach out to the sensor manufacturer for help.
Installing the pH Sensor
Now comes the fun part - installing the sensor. First, find the best location for the sensor in the mixing tank. You want it to be in an area where the liquid is well-mixed, so you get an accurate reading of the overall pH. Avoid areas near inlets or outlets where the liquid flow might be turbulent and give you false readings.
If you're installing the sensor through a port in the tank, wrap the threads of the sensor with Teflon tape. This helps create a tight seal and prevents any leaks. Then, carefully screw the sensor into the port using a wrench. Don't over-tighten it, though, as this can damage the sensor or the tank.
If you need to drill a hole for the sensor, make sure you measure and mark the spot accurately. Use a drill bit that's the right size for the sensor. After drilling, clean the hole to remove any metal shavings or debris. Then, insert the sensor and seal it properly.
Connecting the Sensor
Once the sensor is installed in the tank, you need to connect it to the monitoring system. This usually involves running cables from the sensor to the control panel. Make sure the cables are properly insulated and secured to prevent any damage.
Follow the wiring diagram in the sensor's manual to connect the cables correctly. Double-check all the connections to make sure there are no loose wires. A loose connection can cause inaccurate readings or even damage the sensor.
Calibrating the Sensor
After installation and connection, it's time to calibrate the sensor. Calibration is essential to ensure accurate pH readings. You'll need some calibration solutions with known pH values. Usually, you'll use at least two solutions - one acidic and one basic.
First, immerse the sensor in the first calibration solution. Wait for the reading to stabilize, then adjust the calibration settings on the monitoring system to match the known pH value of the solution. Repeat this process with the second calibration solution.
Calibration might take a few tries to get it just right, but it's worth it. Accurate calibration ensures that you can trust the pH readings from your sensor.
Testing and Maintenance
Once the sensor is calibrated, it's time to test it. Fill the mixing tank with the liquid you'll be using and start the mixing process. Monitor the pH readings on the control panel and make sure they make sense. If the readings seem off, double-check the installation, connections, and calibration.
Regular maintenance is also crucial for the long-term performance of the pH sensor. Clean the sensor regularly to prevent any buildup of debris or contaminants. Check the cables for any signs of damage and replace them if necessary. And don't forget to recalibrate the sensor periodically to ensure accurate readings.

Conclusion
Installing a pH sensor in a mixing tank might seem like a daunting task, but if you follow these steps, you'll be able to do it like a pro. Choosing the right sensor, preparing for installation, installing it correctly, connecting it to the monitoring system, calibrating it, and performing regular maintenance are all key steps in ensuring accurate pH measurements.
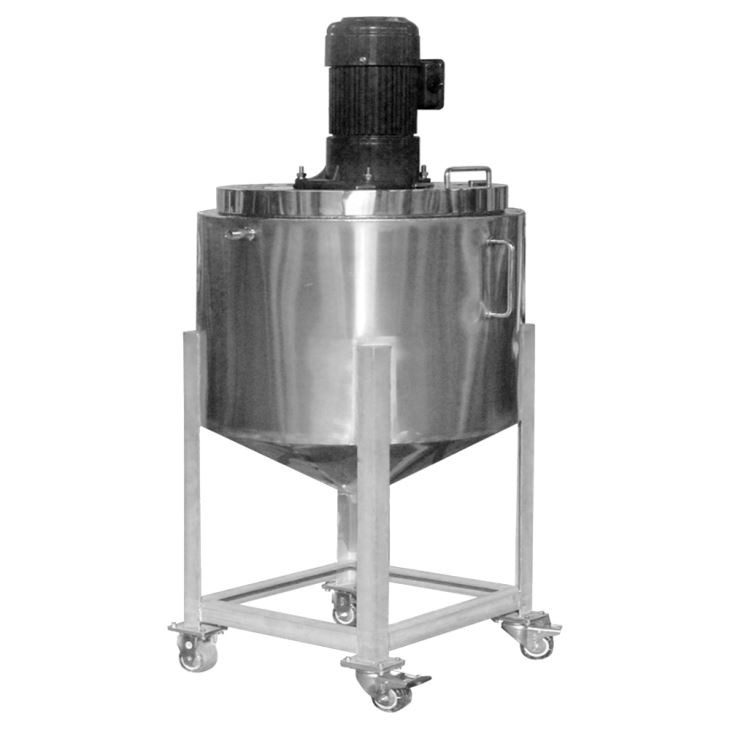
If you're in the market for a mixing tank or need more information about pH sensor installation, we're here to help. We offer a variety of mixing tanks, including Syrup Mixing Tank, Electric Heating Mixing Tank, and Double Jacketed Mixing Tank. If you have any questions or want to discuss your specific needs, feel free to reach out and start a procurement discussion.
References
- General pH sensor installation guides from sensor manufacturers.
- Mixing tank operation manuals.