


Hey there! As a supplier of mixing tanks, I've seen firsthand how important it is to install these tanks correctly. Whether you're dealing with a FRP Chemical Tank, a Syrup Mixing Tank, or a Pneumatic Mixer Tank, the installation process can make or break your operations. So, let's dive into how to install a mixing tank properly.
Pre - installation Preparation
Before you even start thinking about installing the tank, you need to do some groundwork. First off, pick the right location. The area should be flat and stable. You don't want your tank wobbling around because the ground is uneven. It should also be close to the power source if your tank has an electric mixer, or to the compressed air supply for a pneumatic mixer.
Next, measure the space. Make sure there's enough room around the tank for maintenance and access. You don't want to get stuck in a tight spot later when you need to clean or repair something. Also, check the weight capacity of the floor or surface where you're going to place the tank. Different mixing tanks can vary greatly in weight, especially when they're filled with liquid.
Unloading and Moving the Tank
Once you've got the location sorted, it's time to get the tank on - site. When unloading the tank from the delivery truck, use proper equipment like a forklift or a crane. Be super careful not to damage the tank during this process. Scratches or dents can weaken the tank's structure and lead to leaks down the road.
When moving the tank to its final position, use rollers or a pallet jack. If it's a large tank, you might need a team of people to guide it safely. Make sure everyone involved knows what they're doing and follows safety protocols.
Assembly (if required)
Some mixing tanks come pre - assembled, but others might need a bit of work. If your tank needs to be put together, follow the manufacturer's instructions carefully. Usually, it involves attaching the legs, the mixer, and any other components.
When attaching the legs, make sure they're level and firmly secured. A wobbly tank is a recipe for disaster. For the mixer, connect it to the power source or air supply as per the instructions. Double - check all the connections to avoid any loose parts that could cause problems during operation.
Mounting the Tank
Once the tank is assembled, it's time to mount it in its final position. If it's a small tank, you might be able to just place it on the prepared surface. But for larger tanks, you might need to bolt it down. This will prevent it from moving around, especially when there's a lot of agitation inside the tank.
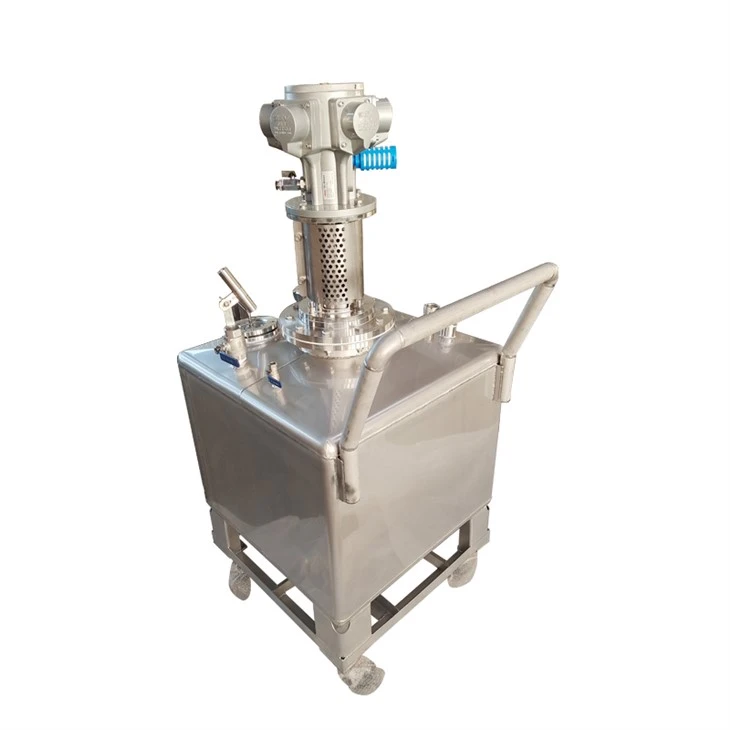
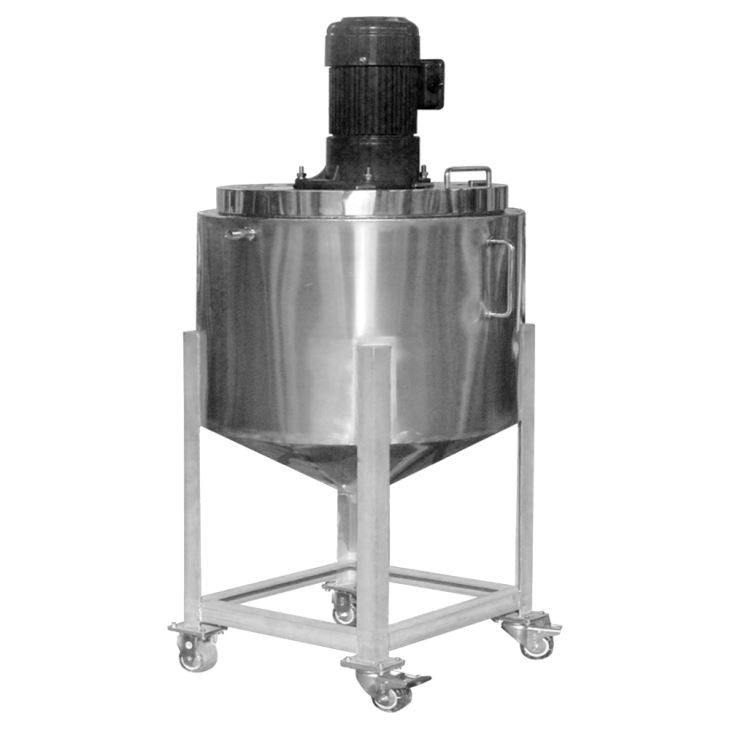
Use the right type and size of bolts for the job. Make sure they're tightened to the correct torque. You can use a torque wrench to get this right. After mounting, check again to make sure the tank is level. You can use a spirit level for this.
Connecting Pipes and Hoses
Now, it's time to connect the pipes and hoses. These are used to fill the tank, drain it, and transfer the mixed liquid. First, clean all the pipe ends and the connection points on the tank. This will prevent any debris from getting into the tank and affecting the quality of the mixture.
Use appropriate gaskets and seals when making the connections. This will ensure a leak - free system. Tighten the connections firmly, but don't over - tighten as it can damage the pipes or the tank.
Electrical and Pneumatic Connections (if applicable)
If your tank has an electric mixer, connect it to a properly grounded electrical outlet. Make sure the wiring is in good condition and that there are no exposed wires. If it's a pneumatic mixer, connect it to the compressed air supply. Check for any air leaks in the system. You can use a soapy water solution to detect leaks. If you see bubbles forming, there's a leak that needs to be fixed.
Testing the Tank
Once everything is connected, it's time to test the tank. Fill it with water or a test liquid. Start the mixer and let it run for a while. Check for any leaks around the tank, pipes, and connections. Also, make sure the mixer is working properly and that the liquid is being mixed evenly.
If you notice any issues during the test, stop the operation immediately and fix the problem. It's better to catch and solve these issues early rather than having them cause problems during actual production.
Maintenance and Safety
After the installation and testing, it's important to establish a maintenance routine. Regularly check the tank for any signs of wear and tear, such as corrosion or cracks. Clean the tank and the mixer regularly to prevent the build - up of residue.
Also, make sure to follow all safety guidelines. Provide appropriate safety equipment for anyone working around the tank, such as gloves and goggles. Post safety signs in the area to remind people of the potential hazards.
Why Choose Our Mixing Tanks?
We offer a wide range of mixing tanks, including FRP Chemical Tank, Syrup Mixing Tank, and Pneumatic Mixer Tank. Our tanks are made from high - quality materials and are designed to last. We also provide detailed installation instructions and support to ensure that you can install and operate our tanks with ease.
If you're interested in purchasing a mixing tank, we're here to help. Whether you need advice on the right tank for your application or assistance with the installation process, just reach out to us. We'll be more than happy to have a chat and discuss your requirements.
References
- Manufacturer's installation manuals for mixing tanks
- Industry standards for tank installation and safety
So, that's a rundown on how to install a mixing tank. I hope this blog post has been helpful to you. If you have any questions or need more information, don't hesitate to get in touch. We're always here to assist you in making the most of your mixing tank investment.